
As a busy mom, I know how challenging it can be to find snacks that are both fun and nutritious. That’s where my Vampire Bite Trail Mix comes in! This spooky snack is not just perfect for Halloween; it’s a delightful treat for any day when you need a quick pick-me-up. With a mix of crunchy nuts, sweet chocolate, and chewy cranberries, it’s a delicious solution for those hectic afternoons. Plus, it’s so easy to whip up that you can involve the kids in the fun. Let’s dive into this tasty adventure together!
Print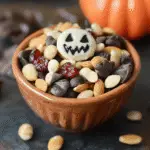
Vampire Bite Trail Mix: A Spooky Snack For All!
- Total Time: 10 minutes
- Yield: Approximately 5 cups 1x
- Diet: Vegetarian
Description
A fun and spooky trail mix perfect for Halloween or any time you want a delicious snack with a twist.
Ingredients
- 1 cup almonds
- 1 cup cashews
- 1 cup dried cranberries
- 1 cup dark chocolate chips
- 1 cup pumpkin seeds
- 1 cup pretzel pieces
Instructions
- In a large mixing bowl, combine all the ingredients.
- Toss the mixture until well combined.
- Store in an airtight container for up to two weeks.
- Serve in small bowls or bags for a spooky treat!
Notes
- Feel free to substitute any nuts or dried fruits based on your preference.
- For a sweeter mix, add more chocolate chips.
- This mix is great for parties or as a Halloween treat.
- Prep Time: 10 minutes
- Cook Time: 0 minutes
- Category: Snack
- Method: Mixing
- Cuisine: American
Nutrition
- Serving Size: 1/4 cup
- Calories: 200
- Sugar: 10g
- Sodium: 5mg
- Fat: 12g
- Saturated Fat: 3g
- Unsaturated Fat: 8g
- Trans Fat: 0g
- Carbohydrates: 20g
- Fiber: 3g
- Protein: 5g
- Cholesterol: 0mg
Keywords: Vampire Bite Trail Mix, Halloween snack, spooky snack, trail mix
Table of Contents
Why You’ll Love This Vampire Bite Trail Mix
This Vampire Bite Trail Mix is a lifesaver for busy days! It takes just 10 minutes to prepare, making it a quick and easy snack option. The combination of flavors and textures is simply irresistible. You get the crunch of nuts, the sweetness of chocolate, and the tartness of cranberries all in one bite. Plus, it’s a great way to sneak in some nutrition while keeping snack time fun and festive!
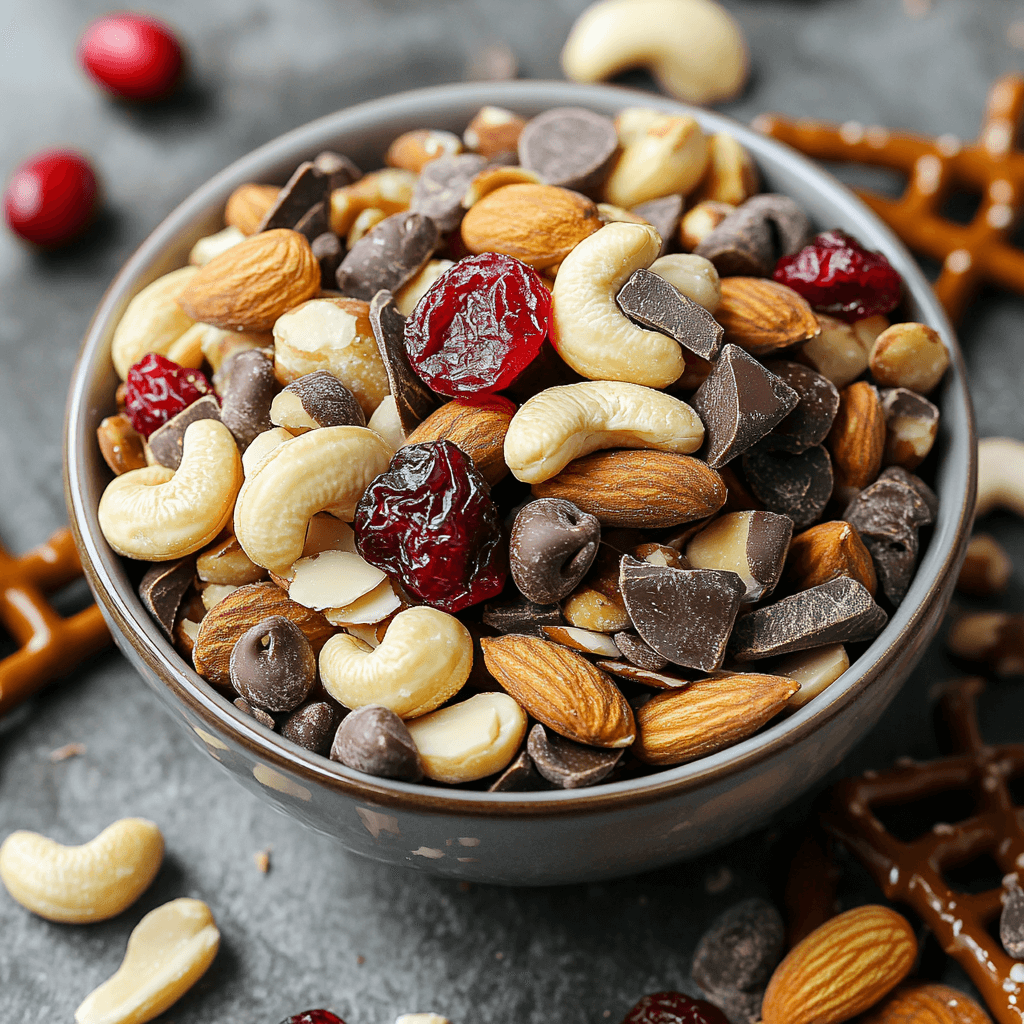
Ingredients for Vampire Bite Trail Mix
Gathering the right ingredients is key to making your Vampire Bite Trail Mix a hit! Here’s what you’ll need:
- Almonds: These crunchy nuts add a satisfying bite and are packed with healthy fats.
- Cashews: Creamy and slightly sweet, cashews bring a delightful contrast to the mix.
- Dried cranberries: Their tartness balances the sweetness of the chocolate, making every handful exciting.
- Dark chocolate chips: Rich and indulgent, they’re the perfect treat for chocolate lovers.
- Pumpkin seeds: Also known as pepitas, they add a nutty flavor and a boost of nutrients.
- Pretzel pieces: These salty bites provide a fun crunch and a savory twist to the mix.
Feel free to get creative! You can swap out any nuts or dried fruits based on your family’s preferences. If you want a sweeter mix, just toss in a few more chocolate chips. The beauty of this trail mix is its versatility, making it a fantastic option for parties or as a Halloween treat. For exact quantities, check the bottom of the article where you can find a printable version!
How to Make Vampire Bite Trail Mix
Making your Vampire Bite Trail Mix is as easy as pie! With just a few simple steps, you’ll have a delicious snack ready to go. Let’s get started on this fun culinary adventure!
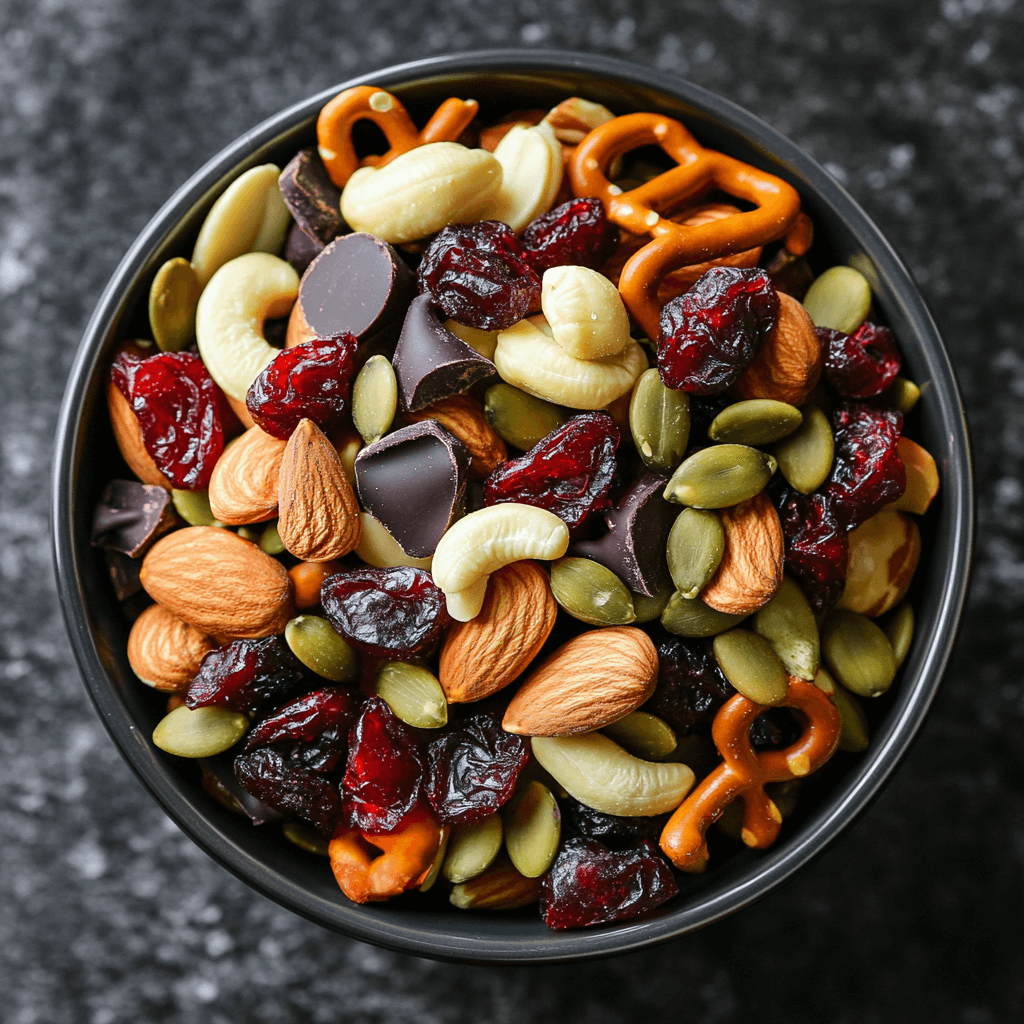
Step 1: Combine the Ingredients
First things first, gather all your ingredients. Grab a large mixing bowl and toss in the almonds, cashews, dried cranberries, dark chocolate chips, pumpkin seeds, and pretzel pieces. As you add each ingredient, think about how they’ll come together to create a delightful mix. The colors and textures are already so inviting! It’s like a party in a bowl!
Step 2: Toss Until Well Combined
Now, it’s time to get your hands in there! Gently toss the mixture until everything is well combined. This step is crucial for ensuring that every bite is packed with flavor. You want to make sure the chocolate chips and cranberries are evenly distributed throughout the mix. If you find some chocolate chips hiding at the bottom, give them a little extra love. A thorough mix means every handful will be a delightful surprise!
Step 3: Store Properly
Once your trail mix is perfectly combined, it’s time to think about storage. Transfer your Vampire Bite Trail Mix into an airtight container. This will keep it fresh and crunchy for up to two weeks. Trust me, it won’t last that long, but it’s good to know it can! If you’re feeling fancy, you can even use mason jars for a cute presentation.
Step 4: Serve and Enjoy
Now comes the fun part—serving! You can scoop the trail mix into small bowls for a party or pack it into snack bags for on-the-go munching. For a spooky twist, consider using Halloween-themed containers or even clear bags tied with orange ribbons. Your family and friends will love this festive touch! Enjoy your Vampire Bite Trail Mix anytime you need a quick snack or a sweet treat!
Tips for Success
- Mix the ingredients gently to avoid crushing the nuts and pretzels.
- For added flavor, consider toasting the nuts before mixing.
- Store in a cool, dry place to maintain freshness.
- Experiment with different dried fruits like raisins or apricots for variety.
- Involve your kids in the mixing process for a fun family activity!
Equipment Needed
- Large mixing bowl: Any big bowl will do, even a pot if you’re in a pinch!
- Measuring cups: Use standard measuring cups or just eyeball it for a more relaxed approach.
- Spatula or wooden spoon: Perfect for mixing; a fork works too if that’s all you have!
Variations of Vampire Bite Trail Mix
- Nut-Free Version: Swap out the almonds and cashews for sunflower seeds or pumpkin seeds to make it nut-free.
- Sweet and Spicy: Add a sprinkle of cinnamon and a dash of cayenne pepper for a sweet and spicy kick!
- Chocolate Lovers: Use white chocolate chips or even peanut butter chips for a different flavor profile.
- Fruit Explosion: Mix in dried apricots, banana chips, or even mini marshmallows for a fruity twist.
- Protein Boost: Toss in some protein-packed chickpeas or roasted edamame for an extra nutritional punch.
Serving Suggestions for Vampire Bite Trail Mix
- Pair with apple slices for a refreshing crunch.
- Serve alongside a spooky-themed punch or apple cider.
- Use clear jars for a fun presentation at parties.
- Offer in individual bags for easy grab-and-go snacks.
- Top yogurt with the trail mix for a delicious breakfast treat!
For more recipes follow me in page Facebook and Pinterest
FAQs about Vampire Bite Trail Mix
Can I make Vampire Bite Trail Mix ahead of time?
Absolutely! This trail mix is perfect for prepping in advance. Just store it in an airtight container, and it will stay fresh for up to two weeks. It’s a great option for busy weeks ahead!
Is Vampire Bite Trail Mix suitable for kids?
Yes, indeed! Kids love the fun mix of flavors and textures. Just be mindful of any nut allergies. You can easily customize it to fit your family’s needs!
Can I use different nuts or fruits in this trail mix?
Definitely! Feel free to swap out any nuts or dried fruits based on your family’s preferences. The beauty of this Vampire Bite Trail Mix is its versatility!
How can I make this trail mix healthier?
To make it healthier, consider reducing the amount of chocolate chips or using dark chocolate with a higher cocoa content. You can also add more seeds or dried fruits for extra nutrients!
What’s the best way to serve Vampire Bite Trail Mix at a party?
For a festive touch, serve it in clear jars or Halloween-themed bowls. You can also create individual snack bags tied with colorful ribbons for a fun grab-and-go option!
Final Thoughts
Creating this Vampire Bite Trail Mix is more than just whipping up a snack; it’s about bringing joy and a little bit of magic into our busy lives. The delightful combination of flavors and textures makes every bite a treat, perfect for sharing with family and friends. Whether it’s for a Halloween gathering or a simple afternoon snack, this mix is sure to bring smiles. Plus, it’s a fantastic way to involve the kids in the kitchen, making memories that last longer than the trail mix itself. So, grab your ingredients and let the fun begin!